

After spending a lot more time in the garden over the past couple of
weeks (thank you British sunshine!) I have been admiring all the
beautiful plants and flowers and gave some thought into creating something floral on my nails. I took inspiration from a Lilly Pulitzer rose print I love,and thought that I would share with you how I created this look.

I started off by using Rimmel's 5-in-1 base coat to protect my nails. It does state you can use it as a top coat as well, but I find it to slow down the drying process - very annoying.

I recently purchased this Barry M Gelly Hi-Shine polish and was excited to try it out, luckily this was a perfect colour for this floral design.

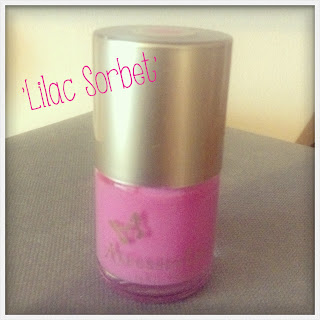
Then I used a pink polish from Accessorize (not too dark, not too pale) and left a couple of splodges on each nail, using a thin paint brush (you can pick these up in any DIY store).

To give the flower some dimension, I used Essie's famous 'Fiji' shade and painted 'C' strokes around the splodges.


As far as I'm aware this 17 polish doesn't have a name, but it is a bright shimmery pink and gave the flower even more dimension.

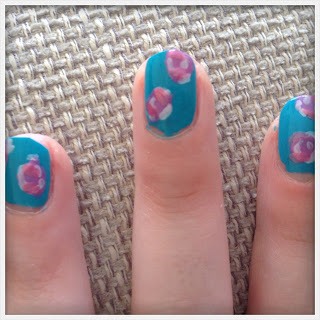
For the leaves, I used two green shades (the dark first, and then the paler one on top), painting them around the flowers. I used a Marks and Spencer's green polish, and Essie's well-loved 'Mint Candy Apple'.


I used Marks and Spencer's Autograph 'Quick Dry' top coat, which helps to instantly dry your nails - amazing!

.jpeg)
Hope you enjoyed the tutorial, and it inspires you to go and create something on your own nails.

I started off by using Rimmel's 5-in-1 base coat to protect my nails. It does state you can use it as a top coat as well, but I find it to slow down the drying process - very annoying.

I recently purchased this Barry M Gelly Hi-Shine polish and was excited to try it out, luckily this was a perfect colour for this floral design.

Then I used a pink polish from Accessorize (not too dark, not too pale) and left a couple of splodges on each nail, using a thin paint brush (you can pick these up in any DIY store).


To give the flower some dimension, I used Essie's famous 'Fiji' shade and painted 'C' strokes around the splodges.


As far as I'm aware this 17 polish doesn't have a name, but it is a bright shimmery pink and gave the flower even more dimension.


For the leaves, I used two green shades (the dark first, and then the paler one on top), painting them around the flowers. I used a Marks and Spencer's green polish, and Essie's well-loved 'Mint Candy Apple'.


I used Marks and Spencer's Autograph 'Quick Dry' top coat, which helps to instantly dry your nails - amazing!

.jpeg)
Hope you enjoyed the tutorial, and it inspires you to go and create something on your own nails.
No comments:
Post a Comment